Posted by Wools Of Nations on 21st Jul 2021
Cross Stitch Today
|
|
|
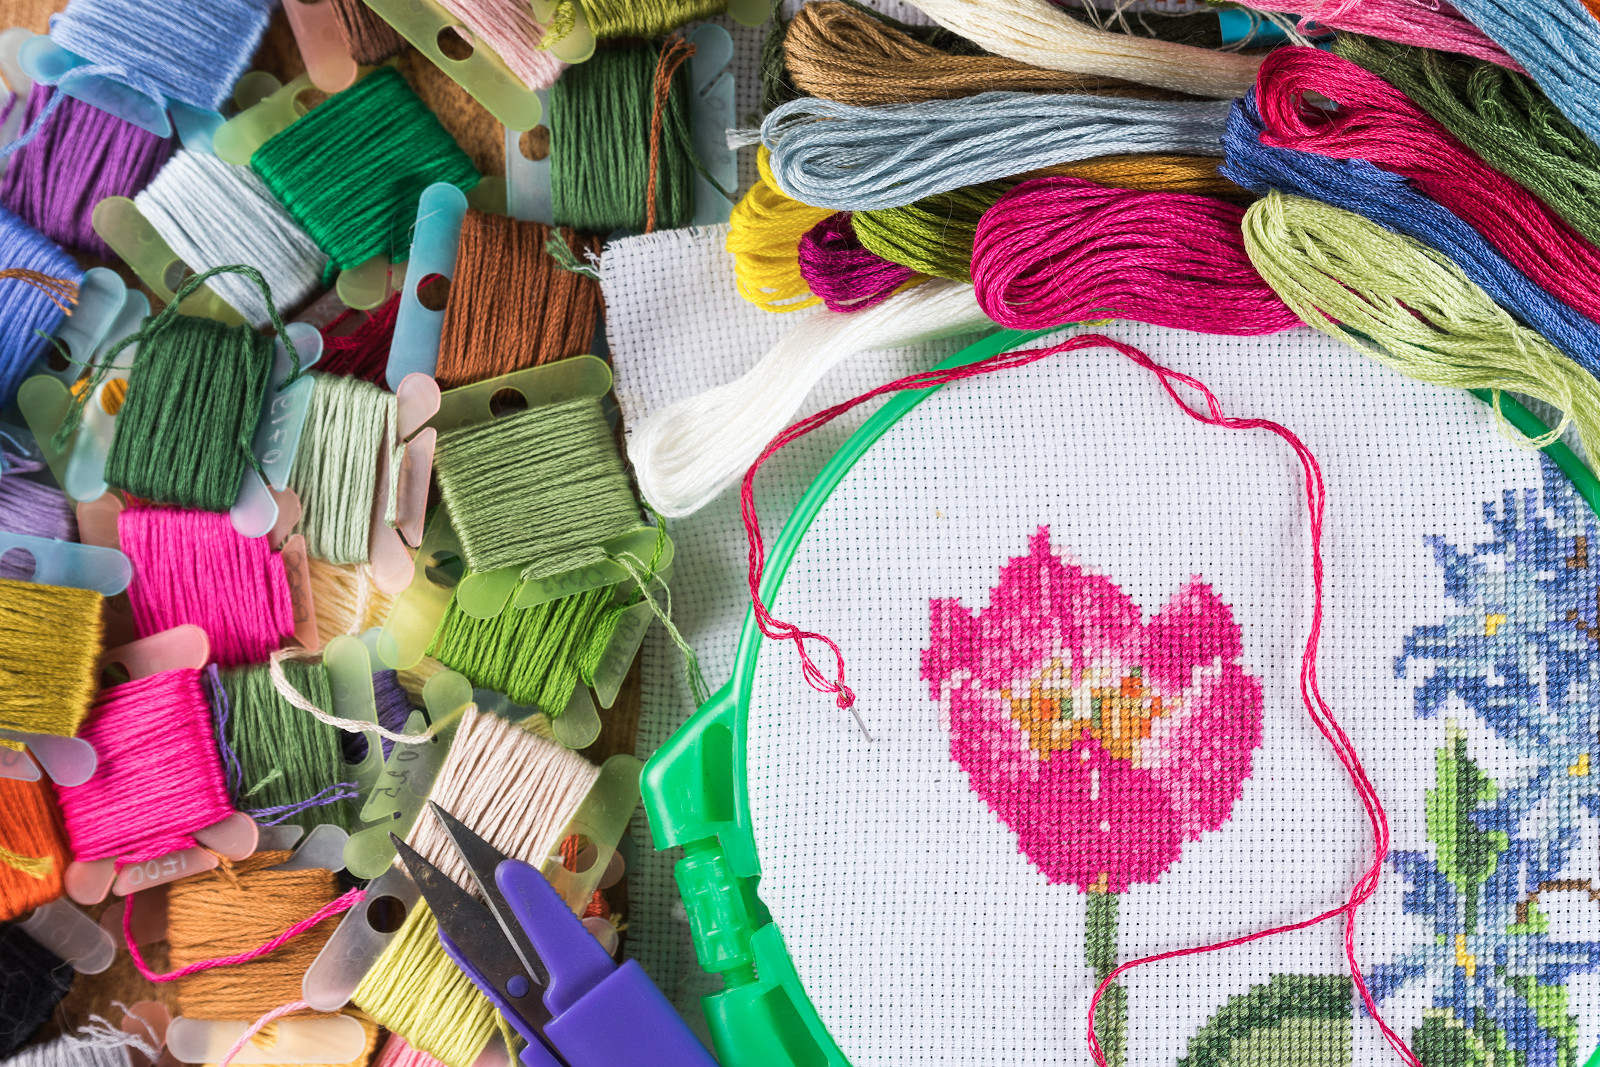
Cross stitch today is a pastime for many, with stitchers working on traditional samplers and images, and modern designs and sayings. Many people find cross stitching meditative and relaxing. Creating individual stitches increases concentration and mindfulness, and the simple, repetitive task can help ease anxiety and stress. Cross stitch can even be a form of rebellion! Some modern designs have snarky sayings or swear words surrounded by pretty designs, giving makers a way to show frustration and release negative emotions. These ‘rude cross stitch’ messages are the opposite of traditional samplers but use exactly the same techniques. MATERIALSEMBROIDERY THREAD OR FLOSS |
|
|
|
Cross stitch uses embroidery thread made up of 6 strands of cotton or silk. It’s most common to stitch with one or two strands of thread. To prepare thread, cut a 45 cm (18-inch) piece. Any longer and the thread may knot and twist while stitching. Then hold the main strand with one hand, pinch a single thread with your other hand, and pull it up and out. It’s important to pull the strands out one at a time so they don’t tangle. NEEDLESCross stitching uses embroidery needles with a large eye. It’s important to make sure the size of the needle matches the thickness of your thread, as well as the size of the holes in the fabric you are stitching on. The needle should fit nicely inside the hole without stretching it, and the thread should cover the fabric behind each stitch. In embroidery needles, the bigger the needle number, the smaller the needle. Fabrics with smaller grids/holes will use higher needle numbers. EMBROIDERY HOOPS |
|
|
|
Embroidery hoops come in a variety of sizes. All the fabric area being stitched should fit in the hoop, with some hanging outside the hoop. The fabric needs to be held taut in the hoop without pulling when stitches are made. Smaller hoops may be used for larger projects, simply by moving the hoop around. Remove the hoop when not stitching, as it can distort the fabric and stitches if projects are left in the hoop. Choosing hoop material is a matter of personal preference. Most embroidery hoops are circular, although they can also be oval or square. Wooden or plastic hoops are the two main types to choose from. Many stitchers who use wooden hoops like to wrap twill tape around the inner hoop to get a more secure grip on the fabric. Plastic hoops often have a lip on the hoop edges that helps lock the fabric in place. Both styles of hoops allow the fabric to be held taut for even tension while stitching. COMMON FABRICS |
|
|
|
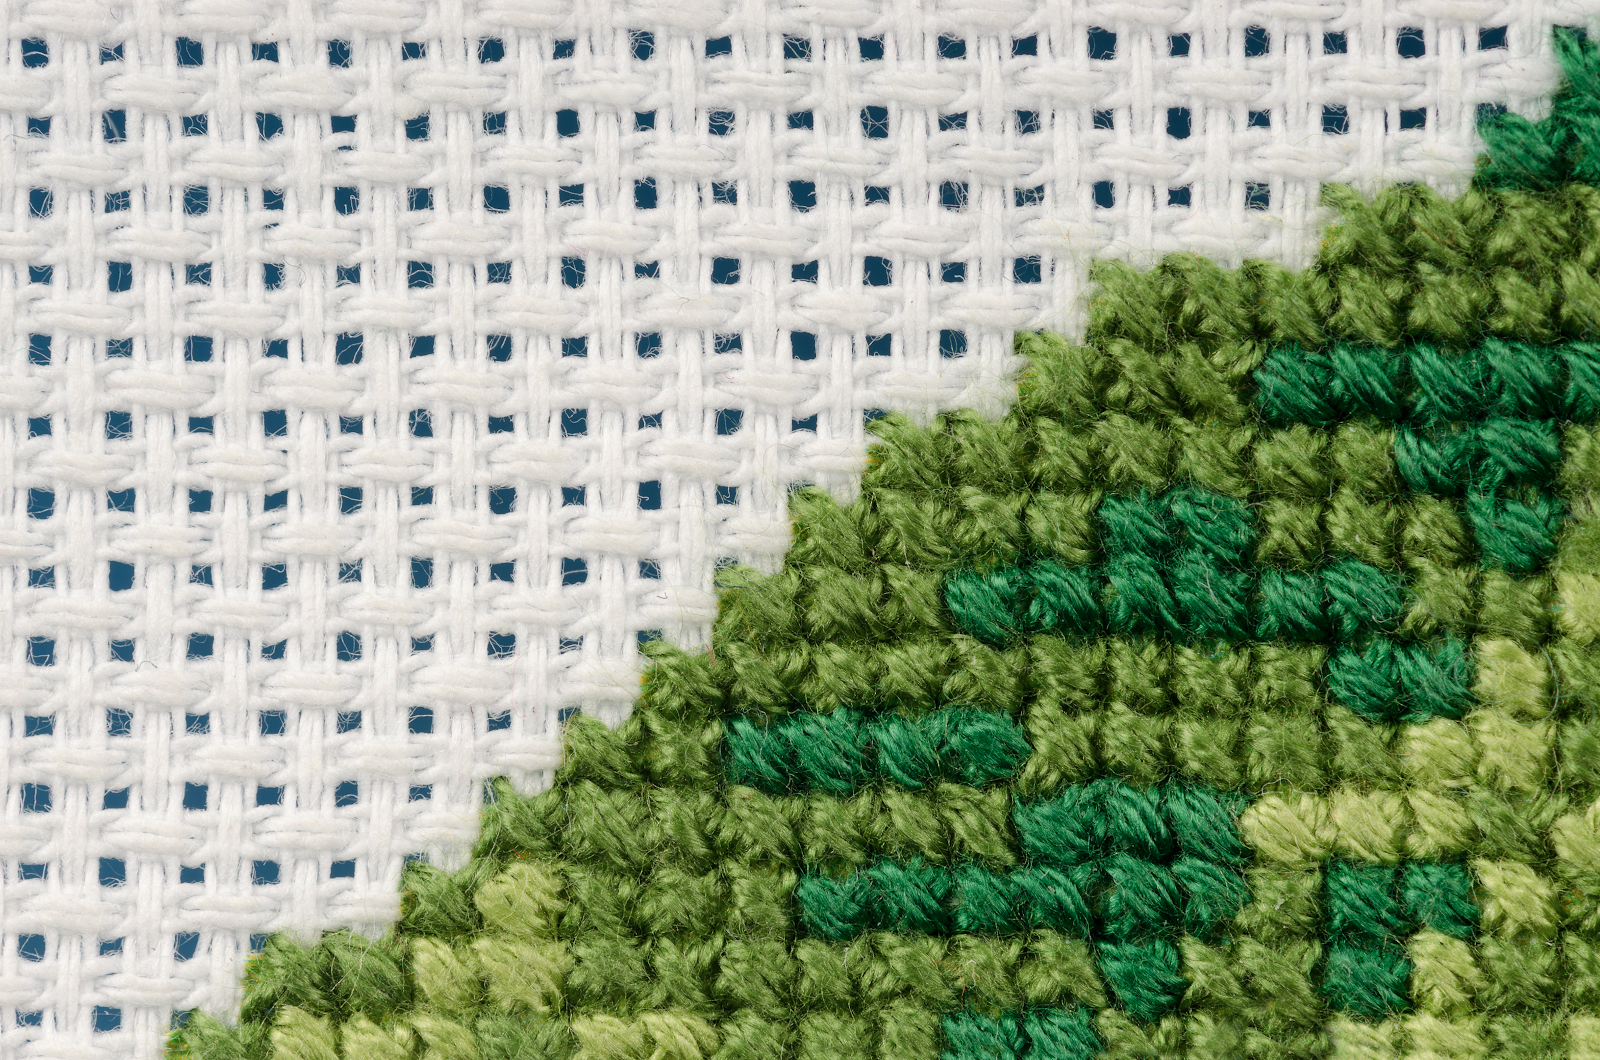
The most common cross stitch fabrics are Aida and linen. The weave of Aida has holes that are perfect for stitching into, helping you achieve identical, perfectly spaced stitches. Linen is another popular cloth and is often used by more experienced cross stitchers. When using linen, the first stitch determines the size of stitches for the whole project. Aida comes in many different counts, which indicate the number of holes per square inch. Smaller counts mean larger stitches with thicker floss, while larger counts have more stitches per square inch, and use thinner floss. Aida and linen are both ‘evenweave’ fabrics, which means they have the same number of warp threads as weft threads, creating a square weave. This weave makes a square grid, making it easier to make precise, even stitches. Before you start stitching your fabric, it’s good to finish the edges to prevent fraying. You can do this by sewing a zigzag stitch along the outside, serging it, or taping the edges if you don’t have a sewing machine. MAKING CROSS STITCHESCross stitch is usually done in rows from left to right. To start, bring the needle up from behind the cloth in the bottom left of the X, making sure to leave about an inch of thread on the back. Pass your needle through the hole diagonally opposite and above, to create the (/) slant of the cross stitch. As you make more stitches, check the back of your work to make sure the thread tail is caught in the stitches. Continue to make a line of half crosses (///////). Next, work your way back across this row, stitching from bottom right to top left of the X (\\\\\\\). This creates your first series of cross stitches. Sometimes it’s better to stitch single crosses. Starting from behind, work your single stitch from bottom left to top right. Next, starting from behind again, stitch from bottom right to top left. Once done with your thread, pass it behind three finished stitches on the back to secure it, then carefully snip with scissors. Cut your threads before moving to different areas of design. Otherwise, your threads might be visible from the front of your work. READING PATTERNS |
|
|
|
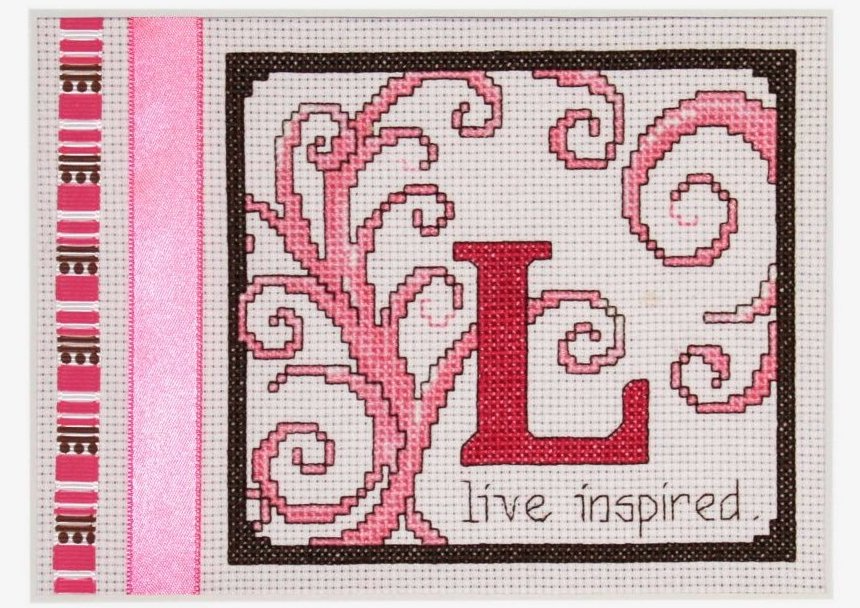
Cross stitch patterns are charts, and each square represents a single stitch. Each colour of thread and each stitch type has a unique symbol or pattern. To begin, find the centre of the pattern. This is often marked by a triangle on the outside of the pattern. You may want to find the centre of the pattern grid by using a ruler and marking the centre lines with a pen or pencil. Find the centre of your fabric by folding it vertically and horizontally. The centre is where these two folds meet and will become the centre of your design. Start stitching from the pattern centre, where the horizontal and vertical centre lines cross. Stitch according to the colour and type of stitch indicated on the chart. To make it easier to count stitches, every ten stitches there is a darker line. Every ten stitches in the grid are also numbered on the outside of the pattern grid. DESIGNING YOUR OWN PATTERNIf you can’t find a pattern you like, you can design your own. You can make your chart using graph paper and draw your design directly on it. The stitches will correspond to the colours you drew in your chart/picture. To make a more complicated pattern or use a photo, you can upload a design to a pattern design tool that will generate a pattern for you. Some design tools generate text patterns as well, and all you need to do is choose a font and type in your text |